Build your own free, offline, high-quality TTS application
 Hayford Owusu Ansah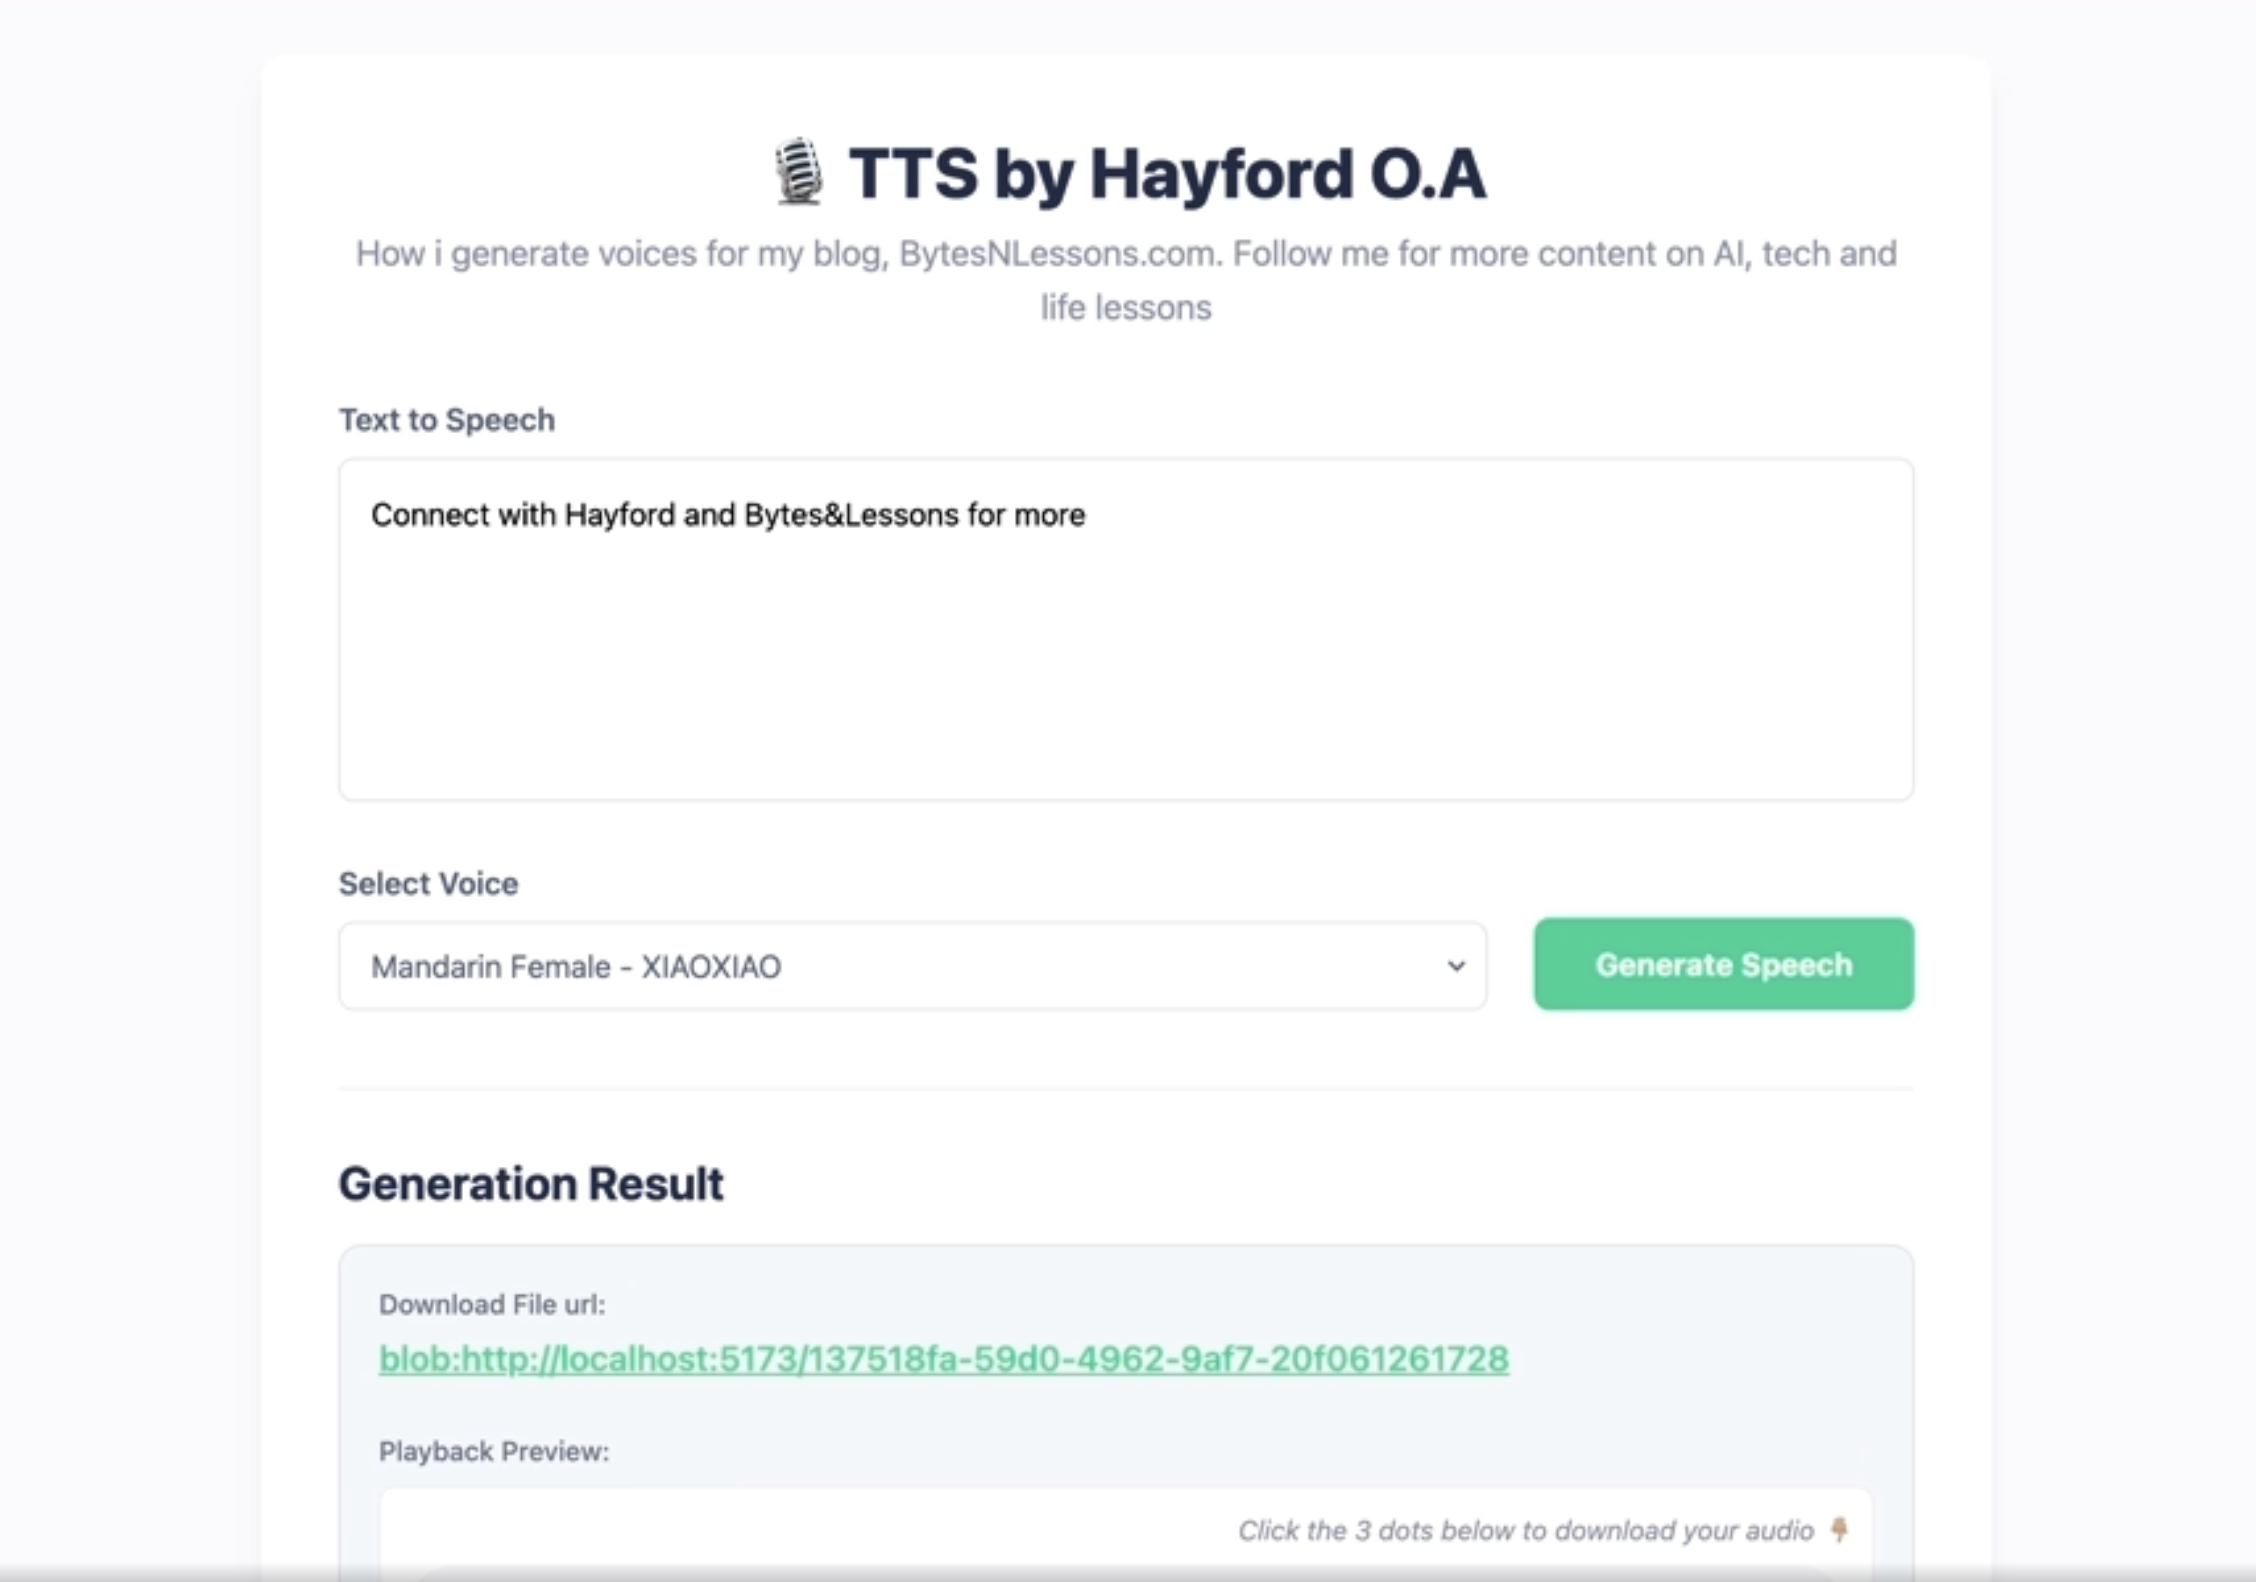
1. SYSTEM ARCHITECTURE

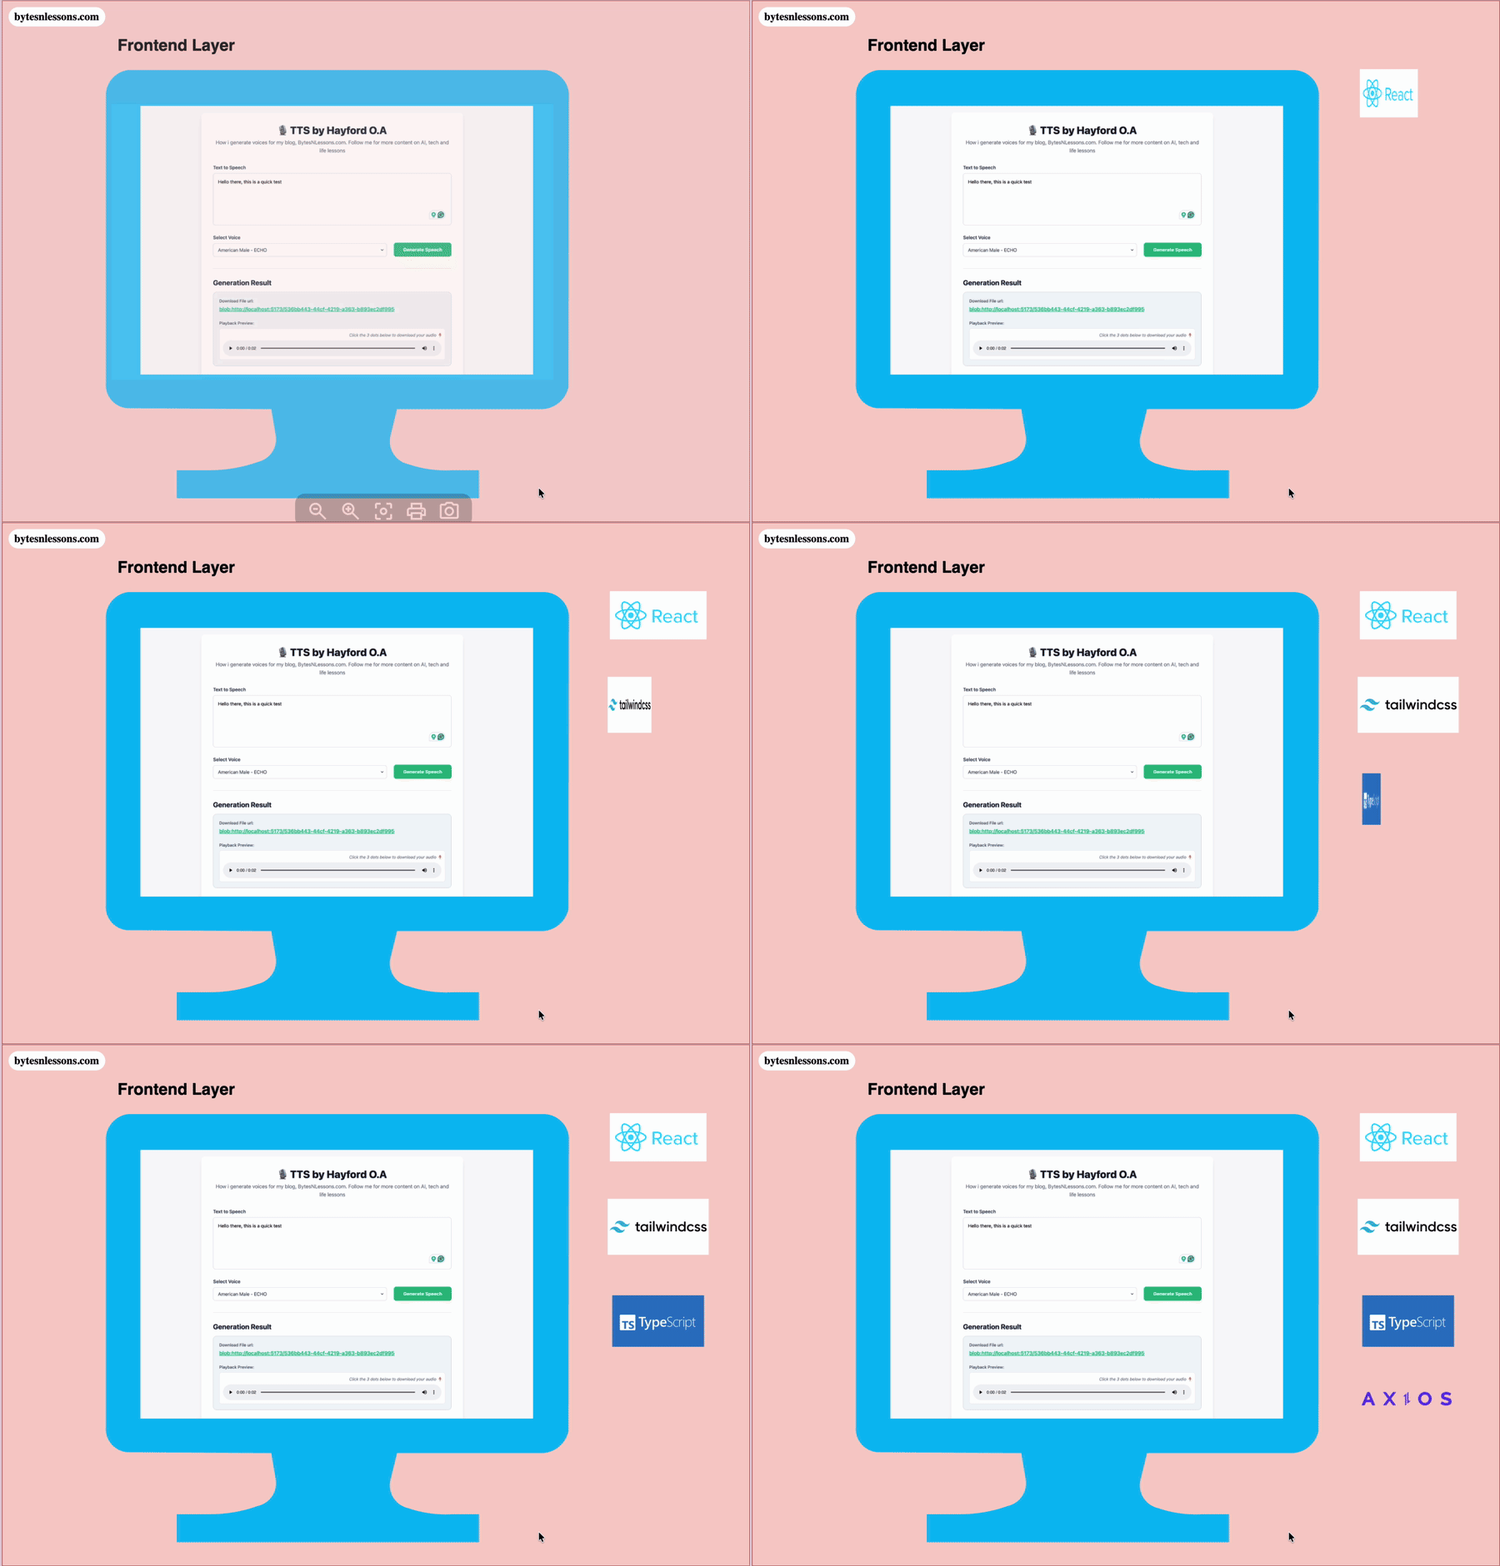
Frontend layer: where humans interface with your system
Tools:
- ReactJS + Typescript - The whiteboard that gives you the ability to create the frontend
- HTML: Allows you to create the structure and add content
- Tailwind CSS: the make-up you put on the structure to make it more visually appealing
- Axios: HTTP client - Allows the frontend to talk to the backend.
Backend layer: The Workhorse 🐎 doing the heaving liftings
Tools:
- Python Programming language - The language the workhorse 🐎 understands.
- FastAPI: A Rest API framework - defines how the workhorse🐎 can talk to other workhorses 🐎or the frontend,
- Uvicorn Web server - a way to make the workhorse🐎 accessible to anyone who wants to talk to it.
AI layer: The trained smart robot 🤖
Tools:
- Kokoro TTS 82M - A deep learning model that can convert text to speech
In the next section, we dive deeper into how to set up the Frontend Layer.
2. Frontend Layer
- Create your own React+Vite+Tailwind+Axios frontend. See links below to guide you
- - link to crating a new react app
#Create your fresh React+Vite+Typescript frontend
npm create vite@latest [name_of_your_frontend]


#install Axios
npm install axios


#Optionally. Set up Tailwind. Follow the official link below
https://tailwindcss.com/docs/installation/using-vite- Create your user interface in the src/App.tsx directory.
- Configure your frontend to talk to the backend.
This is a standard Axios POST request to our backend at localhost:8000. I return a blob instead of the normal JSON to make the backend simple. More details in the backend section
import axios from "axios";
const response = await axios.post(
    "http://localhost:8000/api/v1/tts/generate/local",
    {
        text: "the text convert to speech goes here",
        voice: "af_heart",
    },
    {
        responseType: "blob",
    }
);
// Returns a local blob URL for playback and download
const url = URL.createObjectURL(response.data);
console.log(url);
3. Backend Layer
As a prerequisite, make sure you have Python installed. Optionally, create a virtual environment and activate it. See the commands below to help you
#check if Python is installed
python --version

# Create your virtual Python environment
python -m venv [name_of_your_backend]


# Activate your virtual environment depending on your OS. Check the ./bin folder for the correct "activate" script for your OS.
source ./bin/activate


# Install the project dependencies
pip install -r requirements.txt
Before we go into code, let me show you how the logic for the backend works:
- Send text and voice to the model for inference
Call the inference engine for the model - Inference is how you talk to the AI model. The inference interface takes the text and voice as input and returns chunks of audio tensors (A tensor is a multidimensional vector) as the output.
from kokoro import KPipeline
pipeline = KPipeline(lang_code="a")
generator = pipeline(text, voice=voice)
- Convert model output tensor chunks to an array
audio_chunks = []

for _, _, chunk in generator:
    # chunk is a torch.Tensor → convert to numpy
    audio_chunks.append(chunk.cpu().numpy())
# Concatenate into one audio array
audioArray = np.concatenate(audio_chunks, axis=0)
- Convert the array to a .wav audio file
The array is not useful in its raw state, so I use the soundfile library to convert it to a .wav file
import soundfile as sf
sf.write("filename.wav", audioArray, 24000)- Optional - compress the .wav to MP3
Optionally, I compress the .wav into .mp3 to minimize the file size without losing much quality
from pydub import AudioSegment
sound = AudioSegment.from_wav("fileName.wav")
sound.export(mp3_path, format="mp3")- Return the MP3 as file response
Over here, I return the MP3 as a file response, not a URL or JSON. Before you start scratching your head as to why i didn't return a JSON, these are the reasons:
My initial solution was to upload the MP3 file to S3 and later use the URL in my frontend. Though it worked, it made me dependent on the internet, which broke my “no internet” requirement.
My next solution was to set up a static file server for the MP3 file and use the URL path for my frontend, but that was another layer of complexity.
My final solution was to return the file directly as a blob. This proved to be simple and effective, so I adopted this.
from fastapi.responses import FileResponse
fileResponse = FileResponse(
    path="mp3AudoPath",
    media_type="audio/mpeg",
    filename="tts_by_bytesnlessons.mp3"
)
4. AI layer
Model evaluation
Before settling on the Kokoro model, I researched extensively about the model that would fit my use case. ie, Open source, offline, high-quality.
From my research, I got recommendations for many TTS models, most of which were low quality, online, or required payment. So I restricted my search to the ones that fit my needs. These are the lists of other popular open-source TTS models:
Notable Free / Open-Source TTS Tools & Models
| Name | Advantages | Disadvantages | Link(s) |
|---|---|---|---|
| Coqui TTS | • Neural / high-quality voices with many languages. • Active training tools & voice-cloning capabilities. | • Relatively heavy (GPU/compute) if you want highest quality. • Some uncertainty around company/maintenance despite open-source code. | Repo: github.com/coqui-ai/TTS Website: coquitts.com |
| Mozilla TTS | • Built with deep-learning (Tacotron, Glow-TTS etc) for more natural speech. • Strong research background (Mozilla) & open-source. | • Setup/training can be complex. • Fewer plug-and-play voices compared to commercial offerings. | Repo: github.com/mozilla/TTS |
| Mimic / Mimic 2 (by Mycroft AI) | • Lightweight/fast engine (especially Mimic 1) good for embedded/offline/low-resource. • Mimic 2 uses neural networks for improved quality. | • Quality still lags top neural models in naturalness. • Documentation & community sometimes weaker than major projects. | Repo (Mimic 1): github.com/MycroftAI/mimic1 Docs: Mycroft TTS Engine |
| eSpeak NG | • Very lightweight, fast, supports many languages including low-resource ones. • Works offline easily, minimal dependencies. | • Voices sound more robotic / less natural compared to neural TTS. • Fewer options for expressive voices or premium quality. | Repo: github.com/espeak-ng/espeak-ng Info: Wikipedia |
| Festival Speech Synthesis System | • Mature, modular system used in research/academia. • Good for custom voices/building from scratch. | • Setup more involved. • Quality and naturalness behind newer neural models. | Website: cstr.ed.ac.uk/projects/festival Repo: github.com/festvox/festival |
| MARYTTS | • Java-based system, quite flexible, multilingual support. • Good for research/custom voice building. | • Less plug-and-play for modern neural TTS use-cases. • Java requirement may be heavier for some setups. | Repo: github.com/marytts/marytts Website: marytts.github.io |
| OpenTTS | • Unifies access to many TTS engines/voices via a server/API — good for multi-engine/voice fallback. • Supports SSML, multi-voice, Docker deployment. | • Quality depends on the underlying engine used. • Setup/config may be more complex. | Repo: github.com/synesthesiam/opentts |
| Kokoro TTS | • Lightweight neural model (~82 M parameters) with strong performance for its size. • Apache-licensed weights, multiple voices available. | • Smaller community/support base. • Requires some setup/inference dependencies. | Repo: github.com/hexgrad/kokoro Model Card: huggingface.co/hexgrad/Kokoro-82M |
5. Making it work offline
This one was tricky.
When you call the inference interface for the Kokoro model for the first time, it downloads the model (about 328MB) itself and the voices (about 600KB per voice) from the Hugging Face online repository and caches it on your local machine. The cache is stored at ~/cache/huggingface/.
After the first online download, I was happy and thought that was it. It worked flawlessly with the internet. So, I turned off my internet connection and retried the app again. To my surprise, the model was still trying to go to the internet, even though the model and voices already existed in my cache.
Hence, my next mission was “how to tell the model to always reuse the local cache.”
Environment variables to the rescue
It was then that I learnt about HuggingFace’s environment variables. see the 2 most relevant ones below
HF_HOME: This points to where Hugging Face stores all its models locally. The default is ~/cache/huggingface.
HF_HUB_OFFLINE: Tell Hugging Face not to go to the internet. 1 means no internet. 0 means internet.
Tadaa! This did the trick. I simply copied all the folders and files under ~/cache/huggingface and created my own directory called ./models in my project root.
I simply pointed the Hugging Face home path to my local path and told it not to go to the internet.
export HF_HOME=./models && export HF_HUB_OFFLINE=1
6. Bringing it all together
By now you have:
- Created your post request using FastAPI.
- Implemented your business logic in your post request.
- Copied the contents in ~/cache/huggingface/ to your-backend-root/.models/
- Correctly set the HF_HOME and HF_HUB_OFFLINE environment variables
export HF_HOME=./models && export HF_HUB_OFFLINE=1- Started the Uvicorn web server using the command below
uvicorn main:app --reload- Tested your backend with Postman or curl to ensure your endpoint is working fine and returns the expected response
- Run your frontend using the command below
npm run dev
I am a writer who writes about life lessons and technology. Check out my latest book “TEACHING GRANDMA AI” on Amazon/ Selar/ Lulu.
Don't miss out! Follow Bytes&Lessons for more insightful and thought-provoking content.
📸 Instagram • 🐦 X (Twitter) • 📘 Facebook • 🎵 TikTok • 💼 LinkedIn Newsletter • ▶️ YouTube • 🌐 Website: bytesnlessons.com